Sections in this article
Configuring an email account for outbound messages is a fairly simple process but may require help from whoever manages your email service. This article will walk you through the steps necessary to set up your email address to send messages from Welloca for customer notifications such as appointment confirmations and reminders as well as email newsletters and questionnaire responses.
We’ll use the fictitious company Andy's Healthcare with the website andyshealthcare.com.
Choose an Email Address to use for sending
The first step is to decide what email address you want to use when sending emails from Bonsai. This email address should be one you own and can validate. Taking Andy’s Healthcare as our example, we’re going to use hi@andyshealthcare.com to send emails.
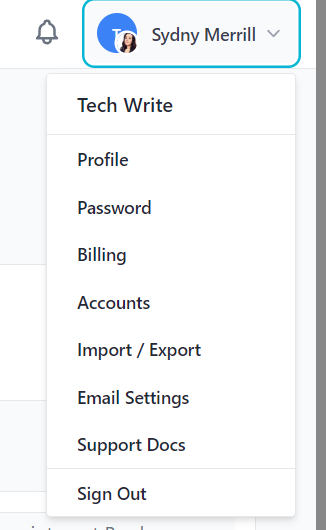
After you’ve selected the email address you want to send from, go to your account email settings - you can navigate to this page by clicking on your profile image in the top right corner and choosing “Email Settings”.
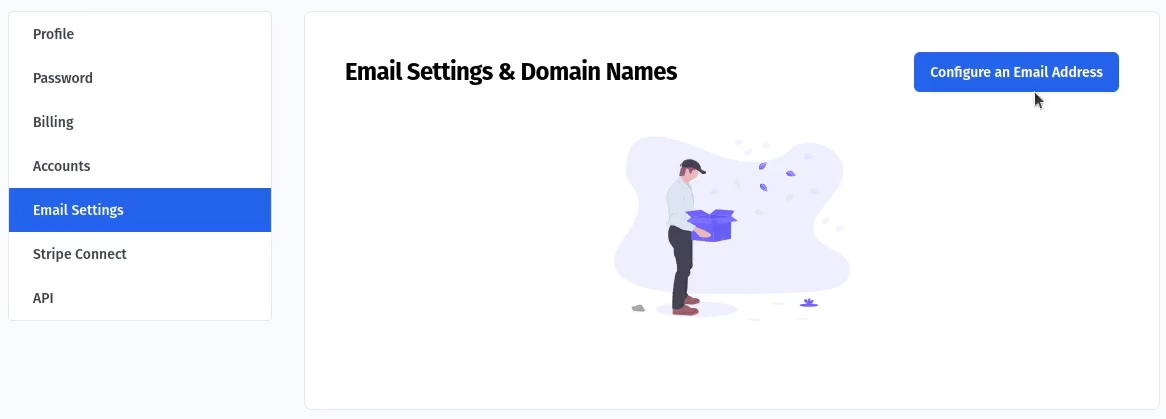
Next click the “Configure an Email Address” button to be taken to the email details form.
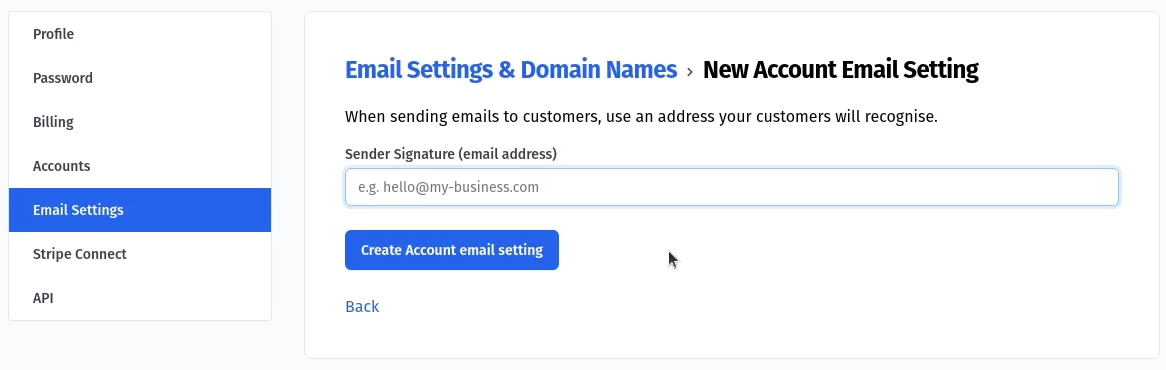
Enter the email address you want to send from.
As soon as you submit the form, our mail service partner (Postmark) will send you an email with a link to click. This is called a sender signature. Open your email and click the button in the email in order for our systems to be able to send any emails on your behalf.
Setup the DNS Records
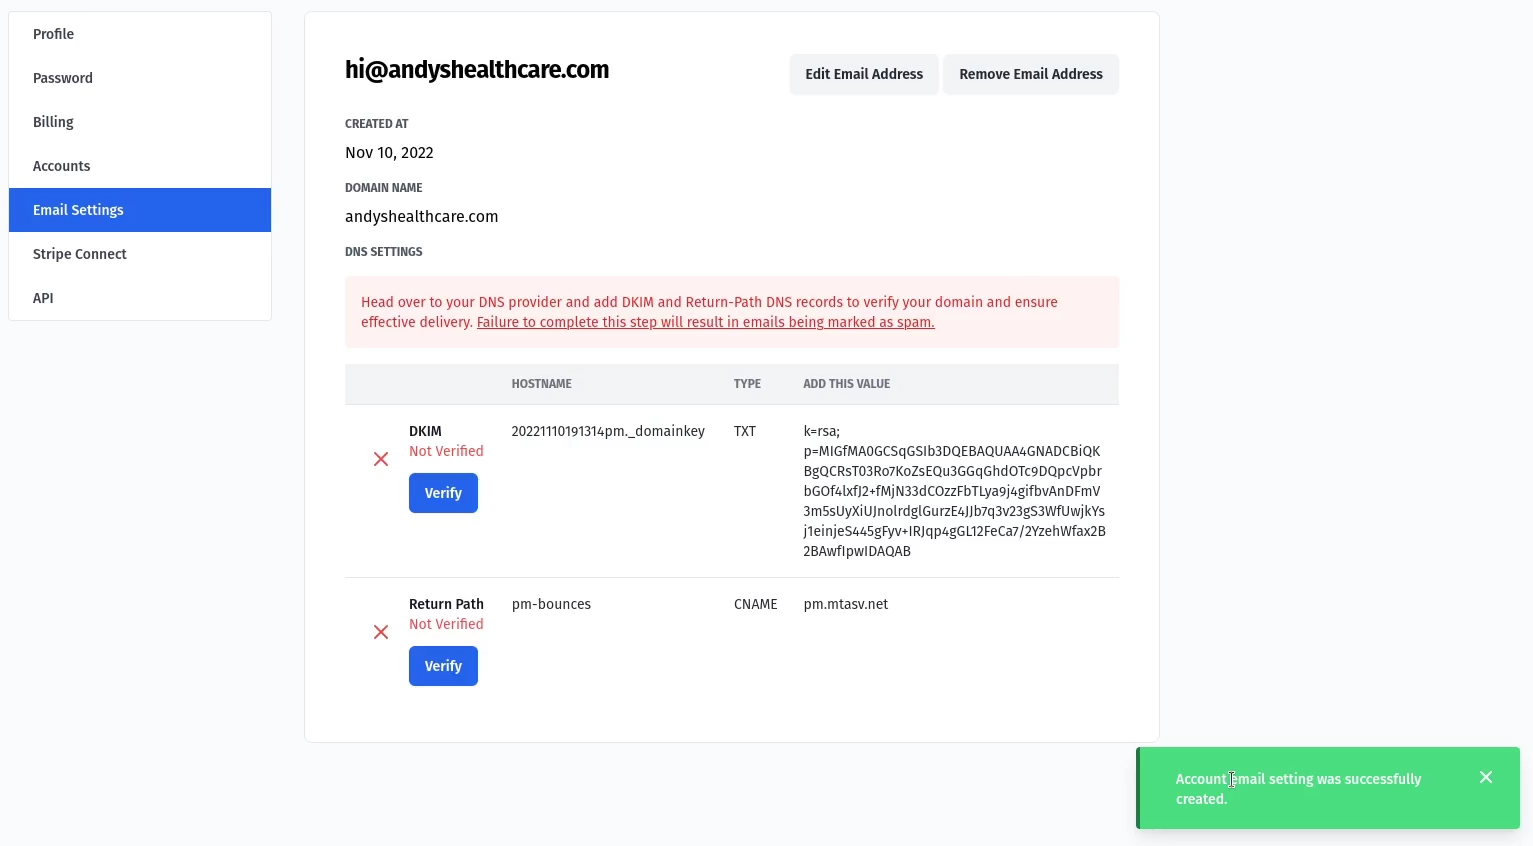
In order to make your emails land in customers inbox (instead of being marked as spam), you’ll need to add 2 records to your DNS settings. This can sound complex, but most domain companies are more than happy to help set these up for you. And our ESP (email service provider) Postmark have put together a great video taking you through the exact steps you need to follow.
You’ll need the DKIM and Return Path values that are displayed in Welloca before you proceed with DNS configuration.
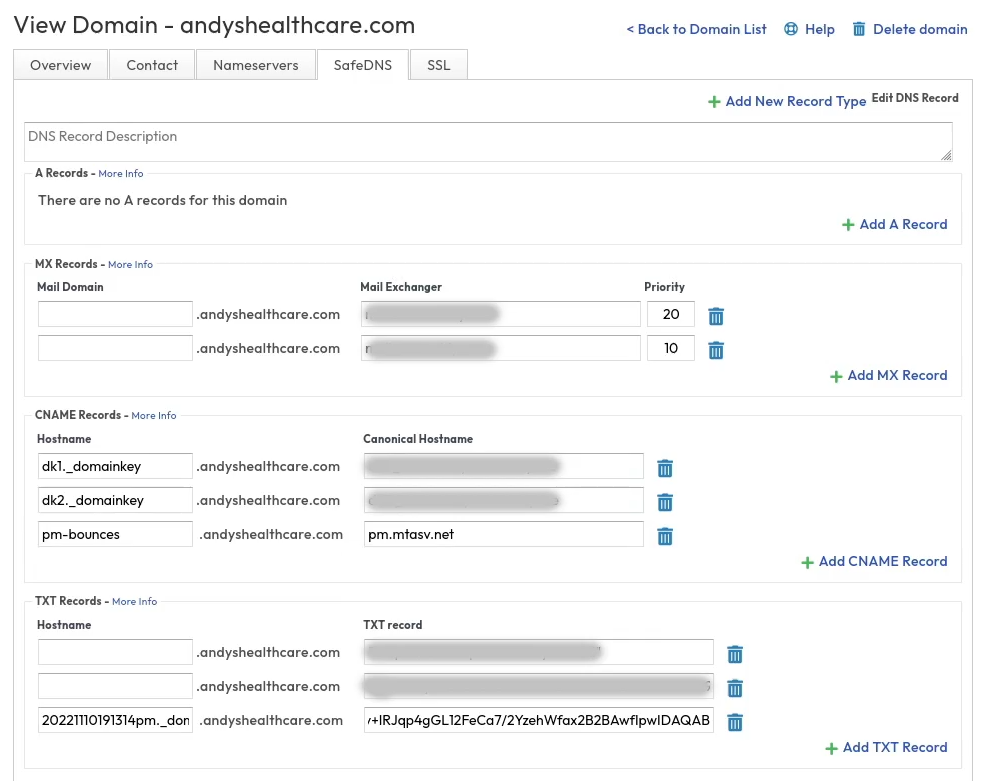
With these in hand, head over to your DNS provider and add these records. In our example, we are using ANS.co.uk and their SafeDNS service, but the same process works for GoDaddy, Cloudflare and any other DNS provider. Here is our DNS setup with the new records added.
Verify the new DNS Records
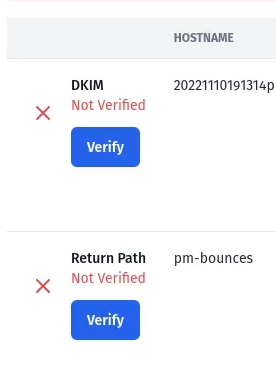
After the changes have been saved, head back to Welloca and click the “Verify” buttons next to DKIM and Return Path email settings. Our systems will then proceed to verify the records.
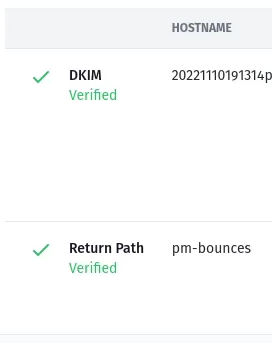
It can take up to 24 hours for DNS settings to verify, so if they dont go green straight away, try again later. After the DNS does verify, you will see them showing as verified.
If you’re having any issues at this stage, we recommend reaching out to us if you’ve not thrown your computer in the dumpster yet. We’re always happy to help.